ReSynkd – Observable pattern through WebSockets
GitHub: https://cope.github.io/resynkd/
NPM: https://www.npmjs.com/package/resynkd
First Demo:
ReSynkd – Observable pattern through WebSockets
GitHub: https://cope.github.io/resynkd/
NPM: https://www.npmjs.com/package/resynkd
First Demo:
If you want to play with MongoDB Change Streams on your local machine, you will have to convert your mongo instance to a replica set.
There is a tutorial on mongodb.com on how to do that, but I found that I needed some help on getting it working.
Oh, and you will need at least MongoDB 3.6 for Change Streams, so if you have an older version, you have to upgrade it first…
First, I stopped my mongo service.
Then I looked into my mongod.cfg file and saw that it looked something like this:
systemLog:
    destination: file
    path: C:/mongodb/log/mongod.log
storage:
    dbPath: C:/mongodb/data
This turned out to be a problem, because we need to start the mongodb server with the replSet parameter set.
Long story short, I ended up converting that mongod.cfg file to this:
# data directory
dbpath=C:/mongodb/data

# log file
logpath=C:/mongodb/log/mongod.log
logappend=true

# replica set name
replSet=rs
Then I started the server, opened the mongo console, and executed:
rs.initiate()
Then I executed:
db.adminCommand( { setFeatureCompatibilityVersion: "3.6" } )
And checked that the change is good by executing:
db.adminCommand( { getParameter: 1, featureCompatibilityVersion: 1 } )
Then I restarted the server once more, just to be safe.
I then I added these few lines into my nodejs code, where I already had mongoose running with the User model:
const userChangeStream = User.watch([],	{fullDocument: "updateLookup"});
userChangeStream.on('change', (change) => {
	console.log(' - user change stream event:\n', change);
});
And I opened Robo 3T, changed the updatedAt field for a user, et voilà:
{
  "operationType": "update",
  "updateDescription": {
    "updatedFields": {
      "updatedAt": "2020-07-04T15:49:34.498Z"
    },
    "removedFields": []
  }
}
Change Streams are comming in 🙂
So, I wanted to install RethinkDB on my Windows machine and found out that it is still not supported. After a couple of weeks I decided to find my own solution.
Here it is.
First, I installed the VirtualBox.
I then downloaded Ubuntu and installed it on the box.
This was the result:
I had issues with the Ubuntu resolution, so I installed VirtualBox Guest Additions
(note that the menu wording was slightly different then in the tutorial):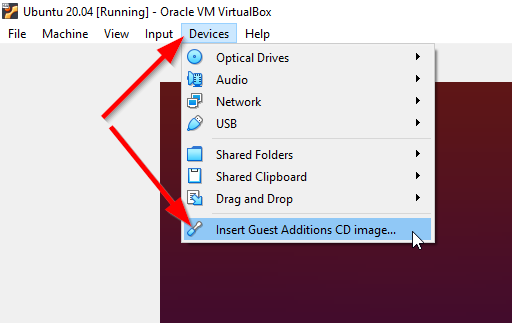
I then also ran sudo apt install virtualbox-guest-dkms in the console on Ubuntu.
I believe I restarted the VM several times between steps.
In the end, I was able to pick a better resolution: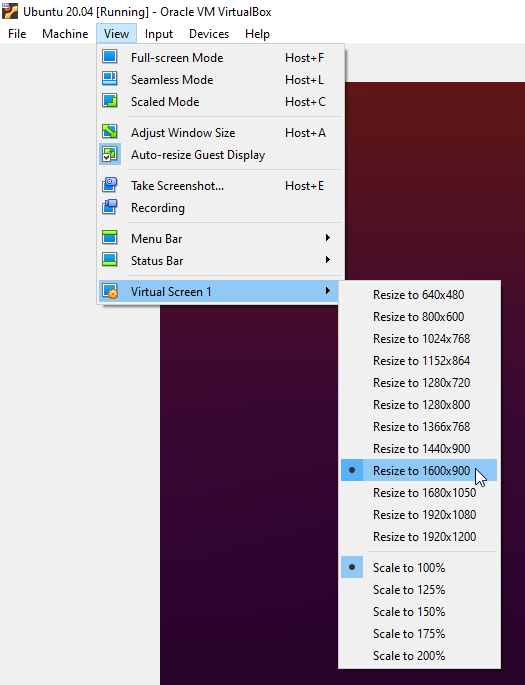
I then set the VirtualBox Network Adapter for Ubuntu to Host-Only Adapter:
This is important for accessing RethinkDB from your host machine.
In Ubuntu, I installed RethinkDB.
I set it up so that it starts at system startup.
And RethinkDB was up and running: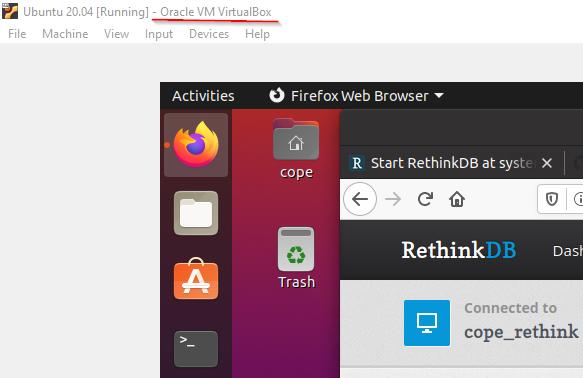
I then edited the instance1.conf file from the previous step, to set the bind=all value: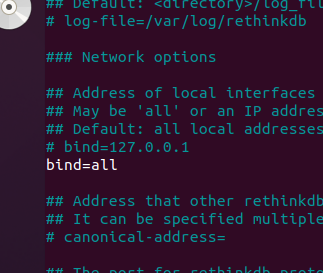
This is also important for accessing RethinkDB from your host machine.
You really should secure your cluster, even though it is a development system. If you do secure it, do not forget to include the user and password attributes in your connect call.
Once you have everything running, on your VirtualBox Ubuntu window, hover the mouse over the network icon to get the Ubuntu’s IP address.
If you do not see a tooltip with the IP address, make sure you select the Ubuntu window and give it focus, then hover again.
Use that IP address with :8080 appended to it, to access the RethinkDB web interface.
Also, use that IP address in your code, to connect to RethinkDB.
And this is my final result on my Windows machine IDE, with RethinkDB running in the VirtualBox. I ran the two scripts, index.js and listen.js in separate consoles, and when index.js makes a change to the tv_shows table, the listen.js script receives the change.
Well, OK, let’s just dive in, shall we?
Required:
Optional:
Print the logo and cut out the green:
 – make sure it is large enough to cover your pizza, and not larger… but also not too much smaller. You’ll figure it out…
Get a frying pan large enough to cover your pizza, and not too much larger… but also definitely not smaller! Again, you’ll figure it out…
Separate the egg whites.
I mixed the yolkes with spinach, later found out it did not matter, so…
Heat up some butter or oil in the pan. Add the egg whites and let them be, do not stir!
Once ready, take them out on some paper towels and dry them thoroughly.
Use towels on both sides, two plates larger enough, and flip a few times, using fresh paper towels.
Get some flat wooden surface and flip the eggs onto it.
I had a paper towel underneath, could be an issue in the next step when cutting… I managed.
Place the printed cutout on the eggs and go to work… You’ll figure it out…
You should end up with something like this:
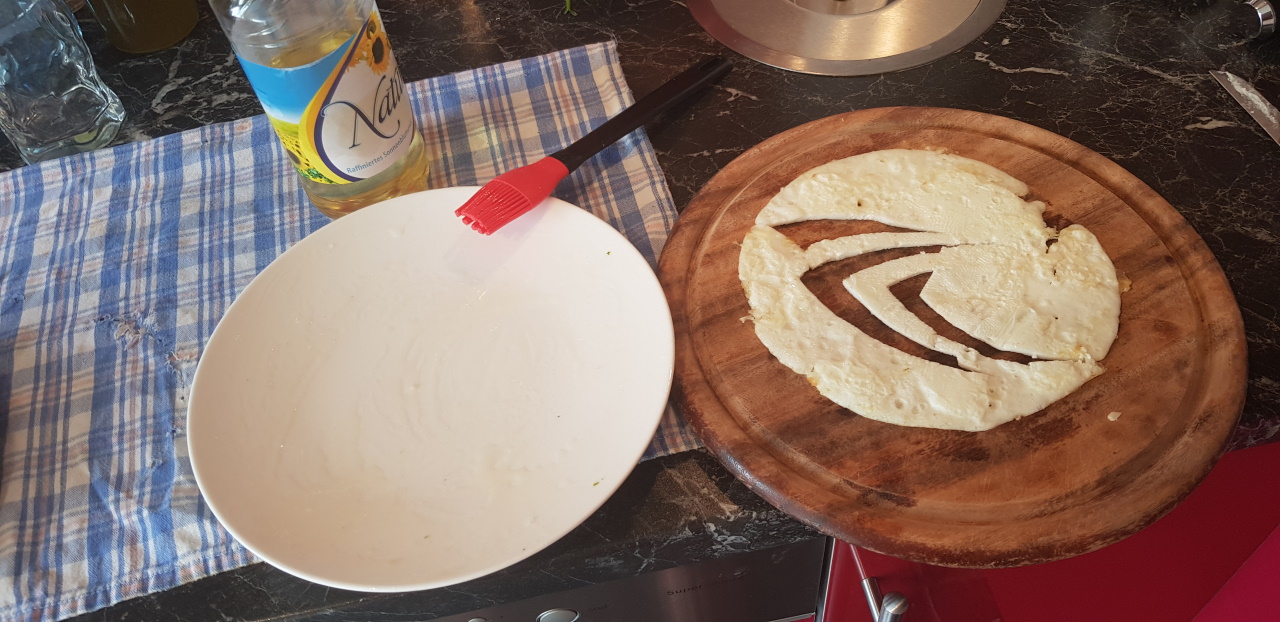
IMPORTANT: Before flipping it back onto a plate, OIL the plate properly! Trust me, you will need the slipperynessness… ness… to get the eggs onto the pizza!
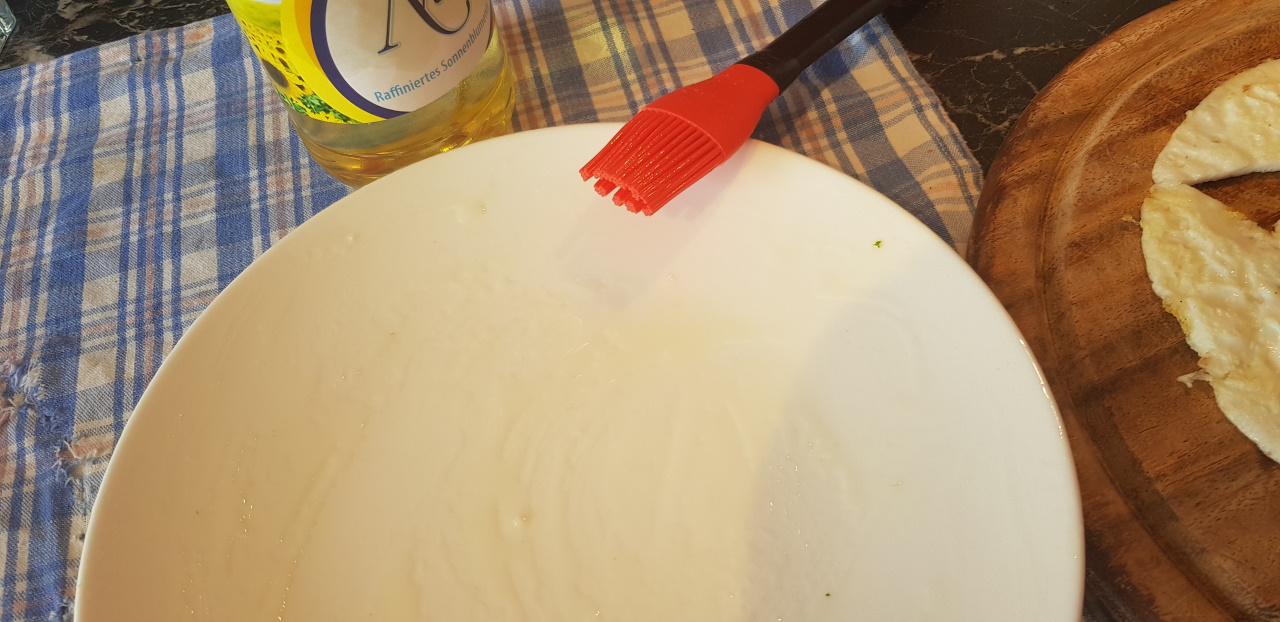
Flip it.
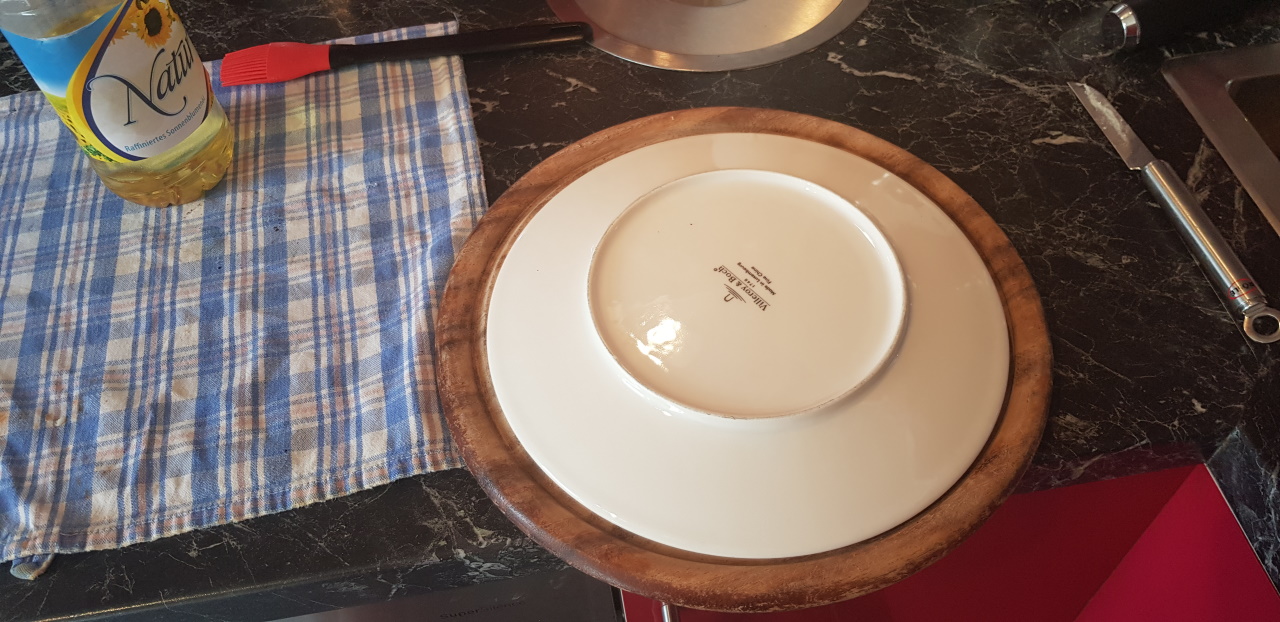
Boom:
 – that’s what we want
 ![]()
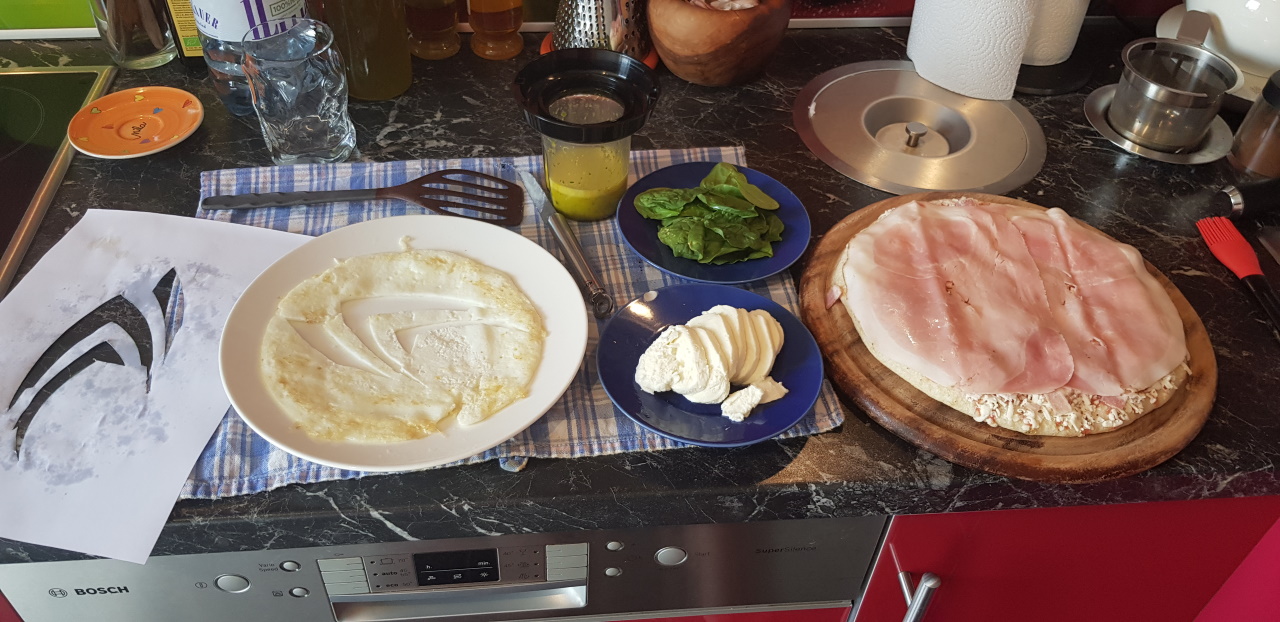
OK, lets see what we are working with:
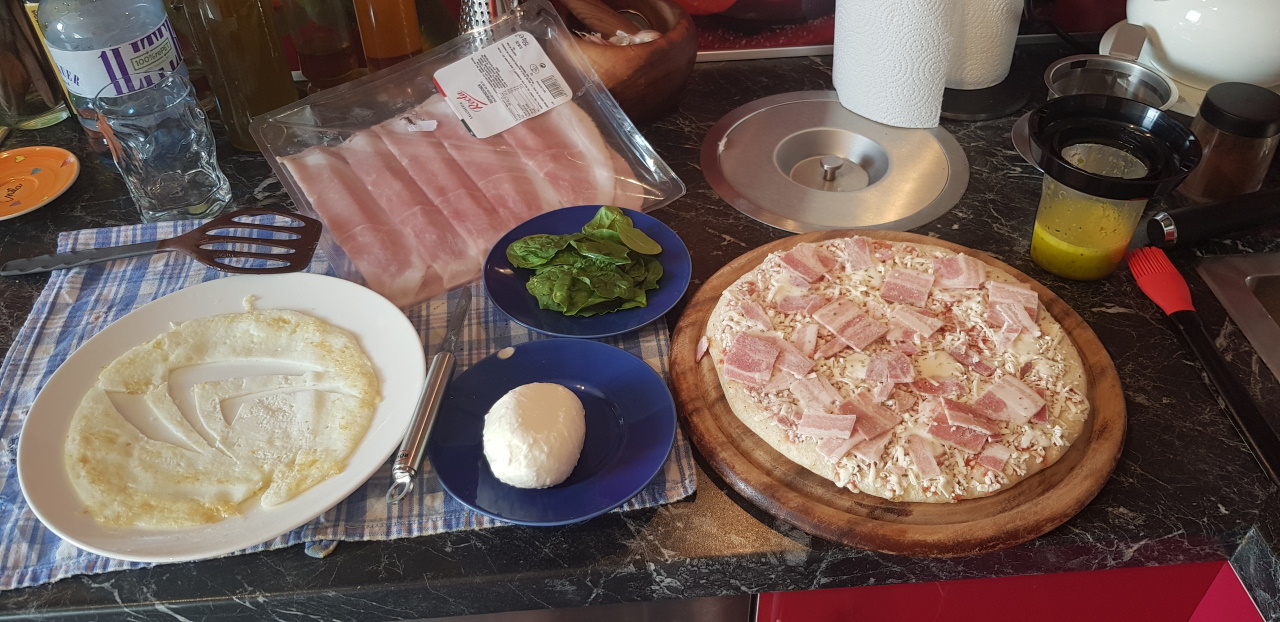 – OK, all clear here. The yellow is the yolkes, mixed with some of the baby spinach – not really needed in the end, but I was experimenting.
So, I placed the ham first, to get a flat-ish base:
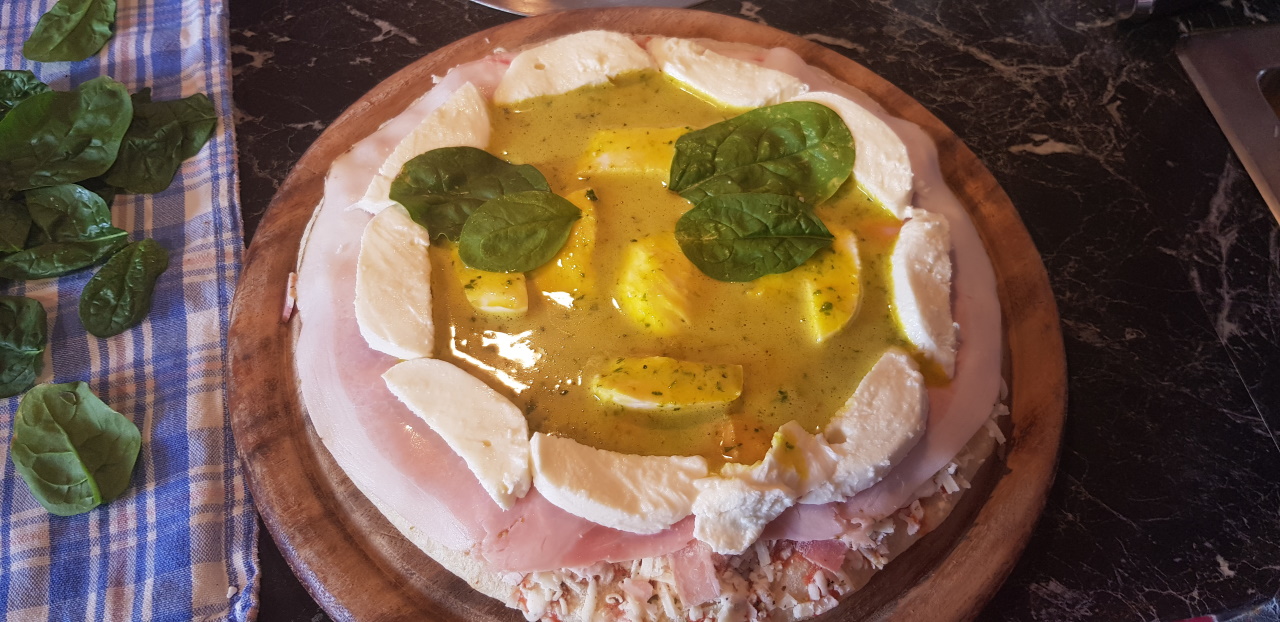
Created a mozarella frame and filled it with eg yolkes as a binding agent.
Placed all baby spinash leaves, strategically to match the logo:
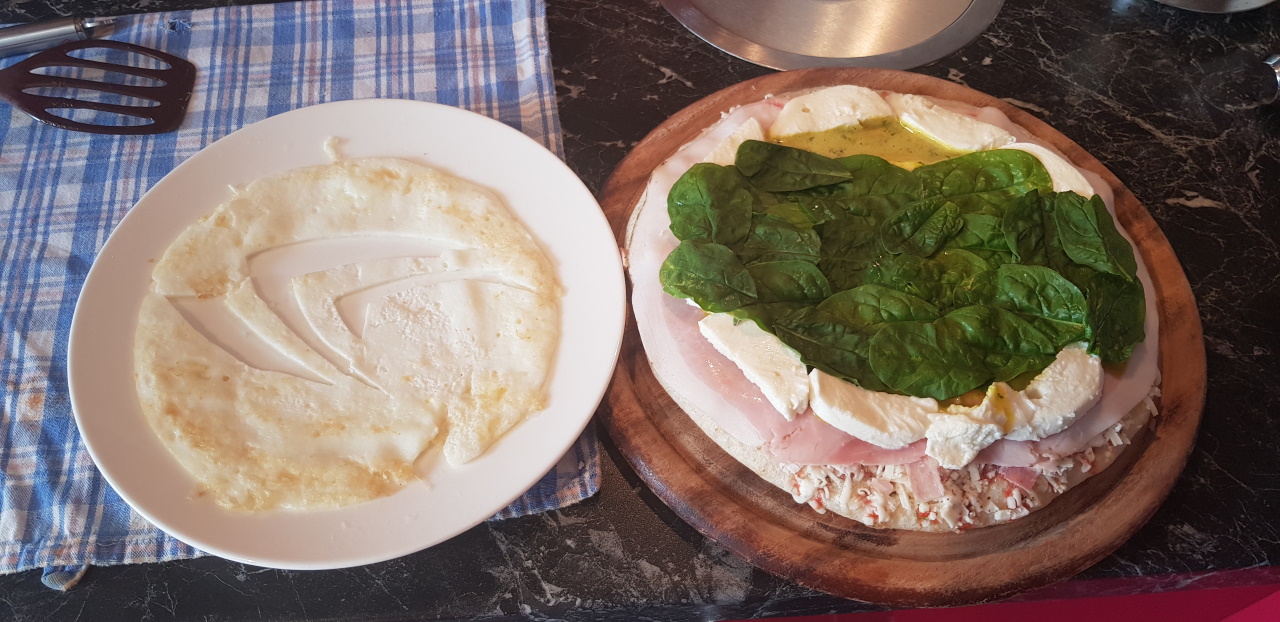
IMPORTANT: remember the oil!
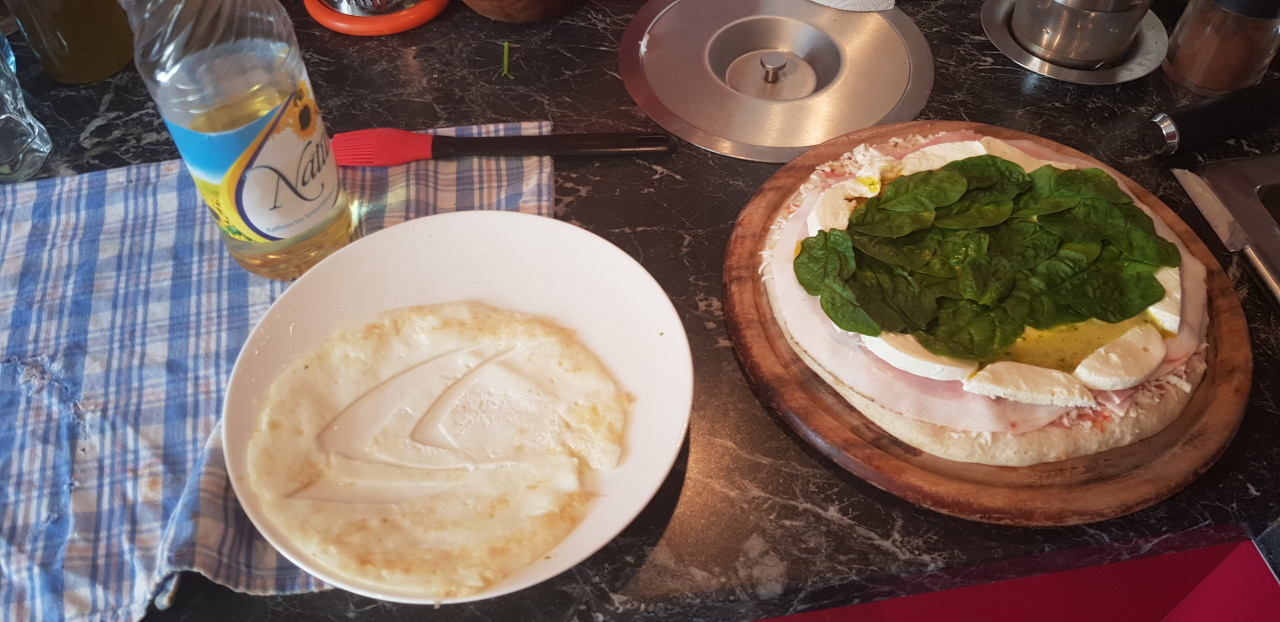
Because even with the oil, this will happen:
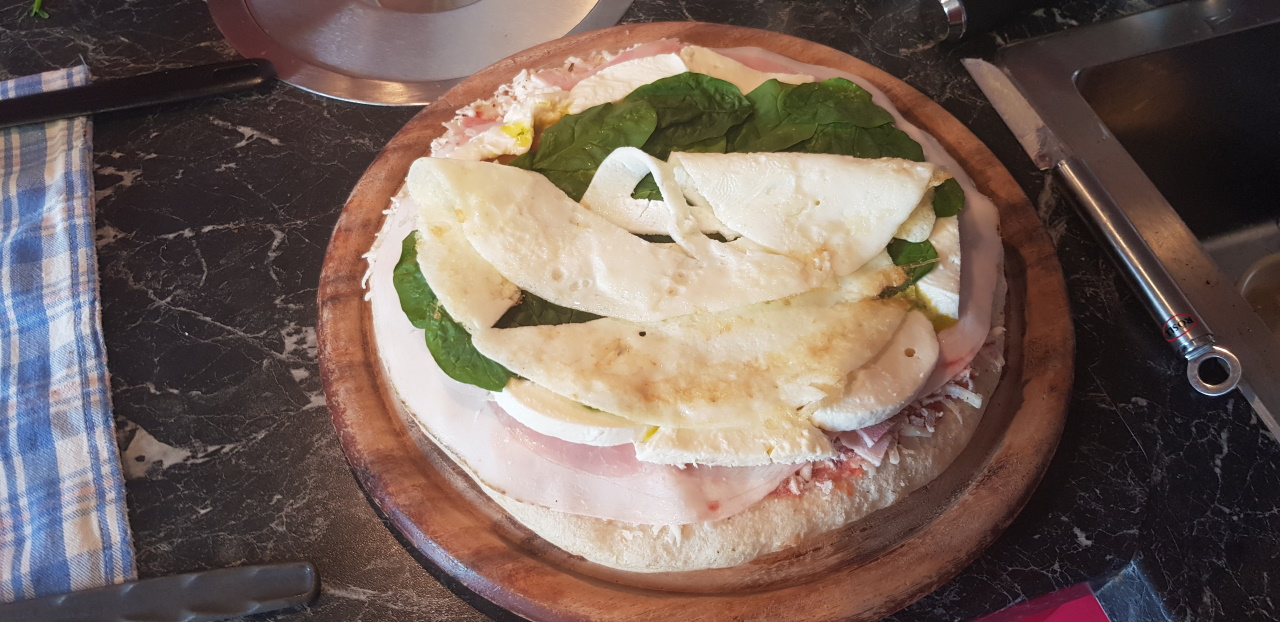
Fix it:

Make it pretty:
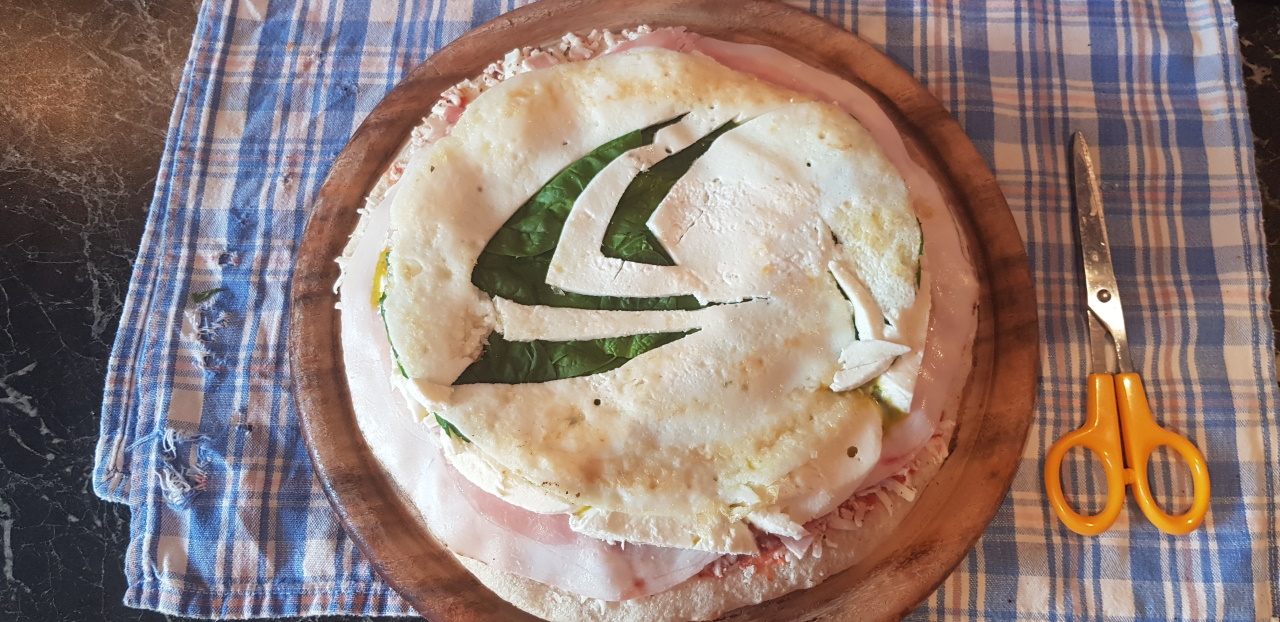
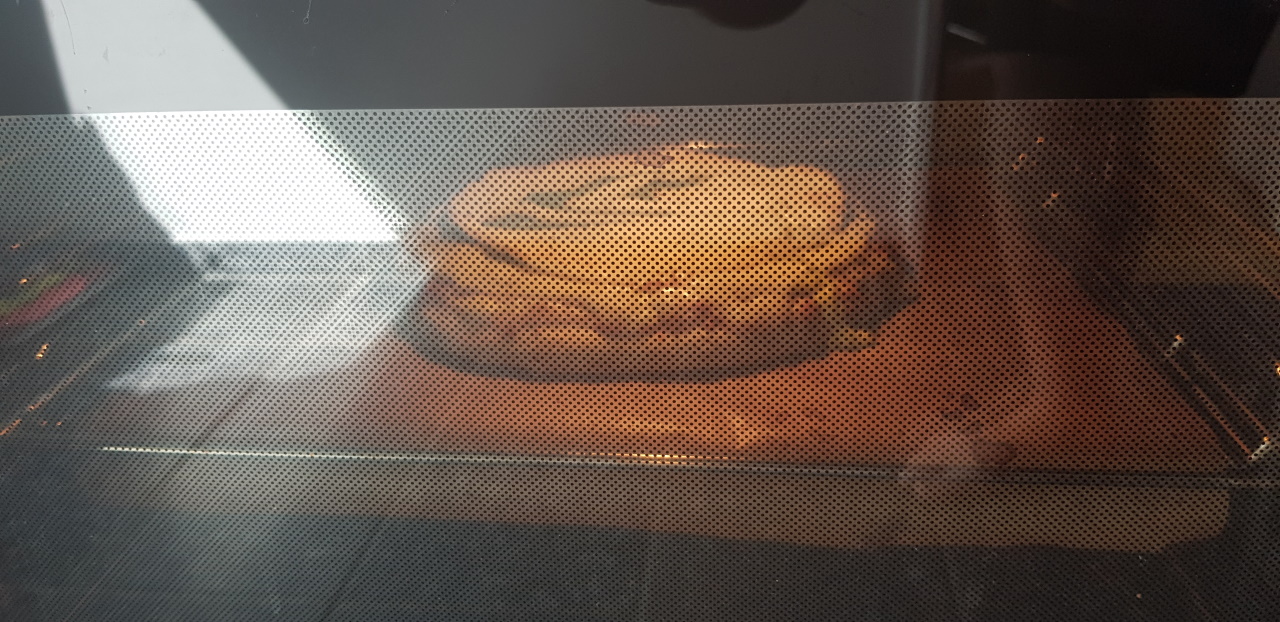
In she goes:
And out she comes! ![]()


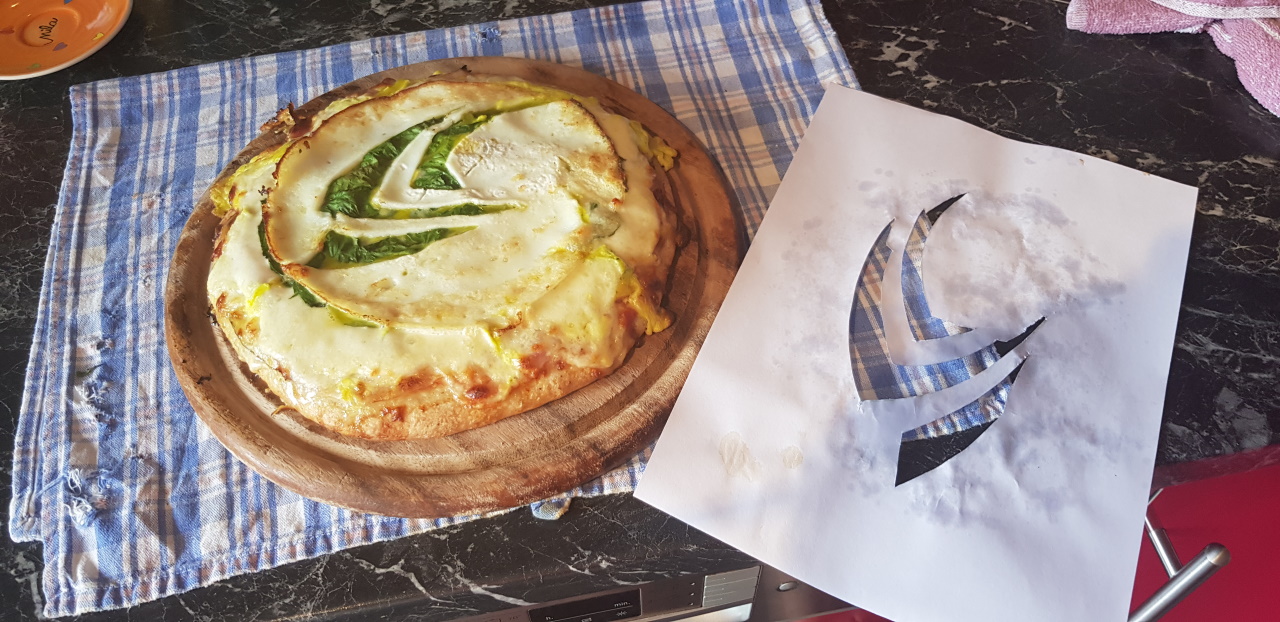


YEI! ![]()